What is a silkscreen print?
Silkscreen printing, or screen printing, utilizes a polyester screen as a matrix to facilitate stenciling techniques. Originally silk was used, hence the term silkscreen printing.
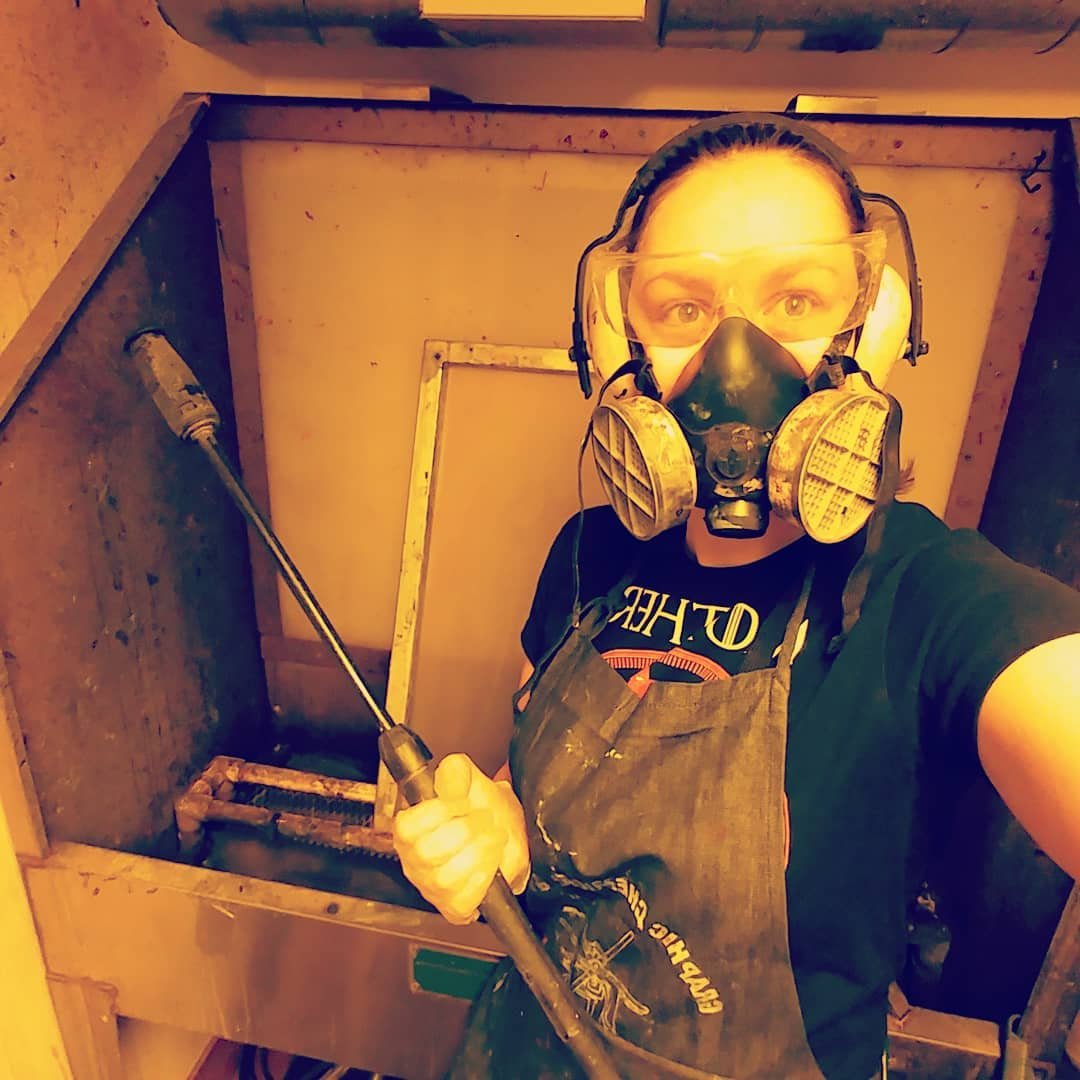
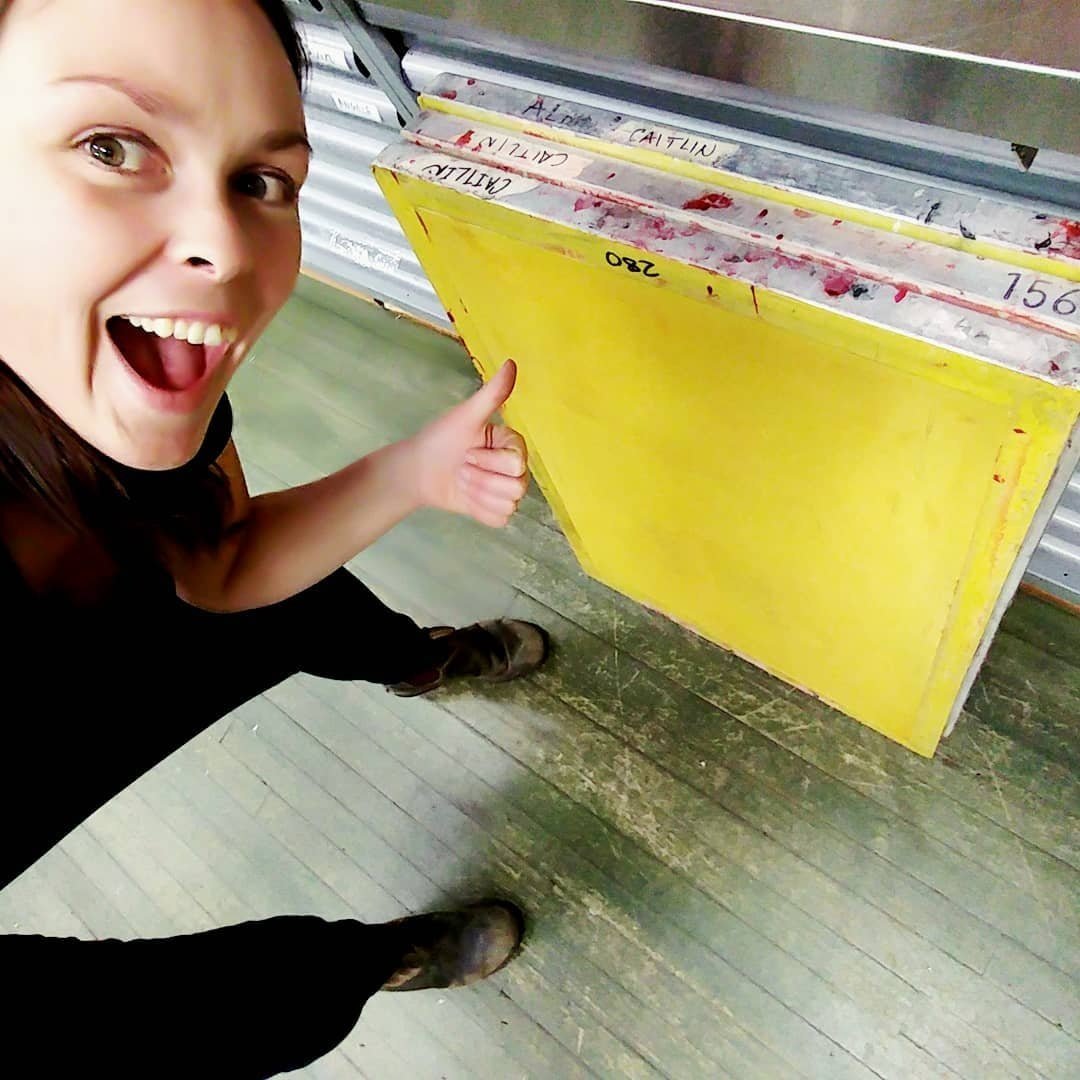
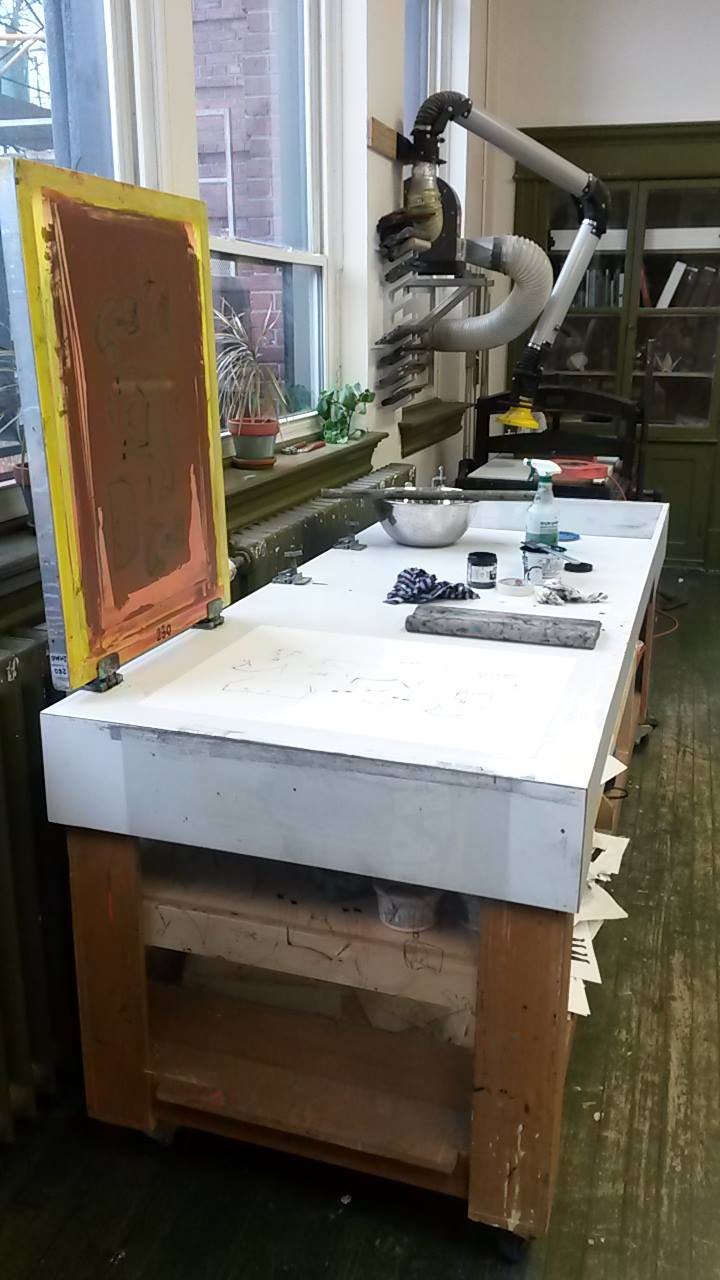
In this process, the printmaker creates a stencil on their silkscreen matrix by blocking areas of the screen, either by hand painting with a screen filling medium and/or by using photographic techniques. The polyester “screen" of the matrix is stretched tight across the frame and can be washed and reused many times. Its thread count is high enough for ink to sit on top of the screen, yet low enough to allow ink to be forced through with a squeegee. During the printing process, dragging the squeegee across the screen to push the ink through the stencil is called “pulling” the print. Once the print has been pulled, the screen must be “flooded” to protect any ink from drying in the stencil and ruining the screen while the printmaker removes the fresh “pull” (the recently printed paper) and replaces it with a new sheet of paper. To flood the screen, the artist simply lifts it off the paper, then uses the squeegee to spread the ink over the stencil without actually pushing it through.
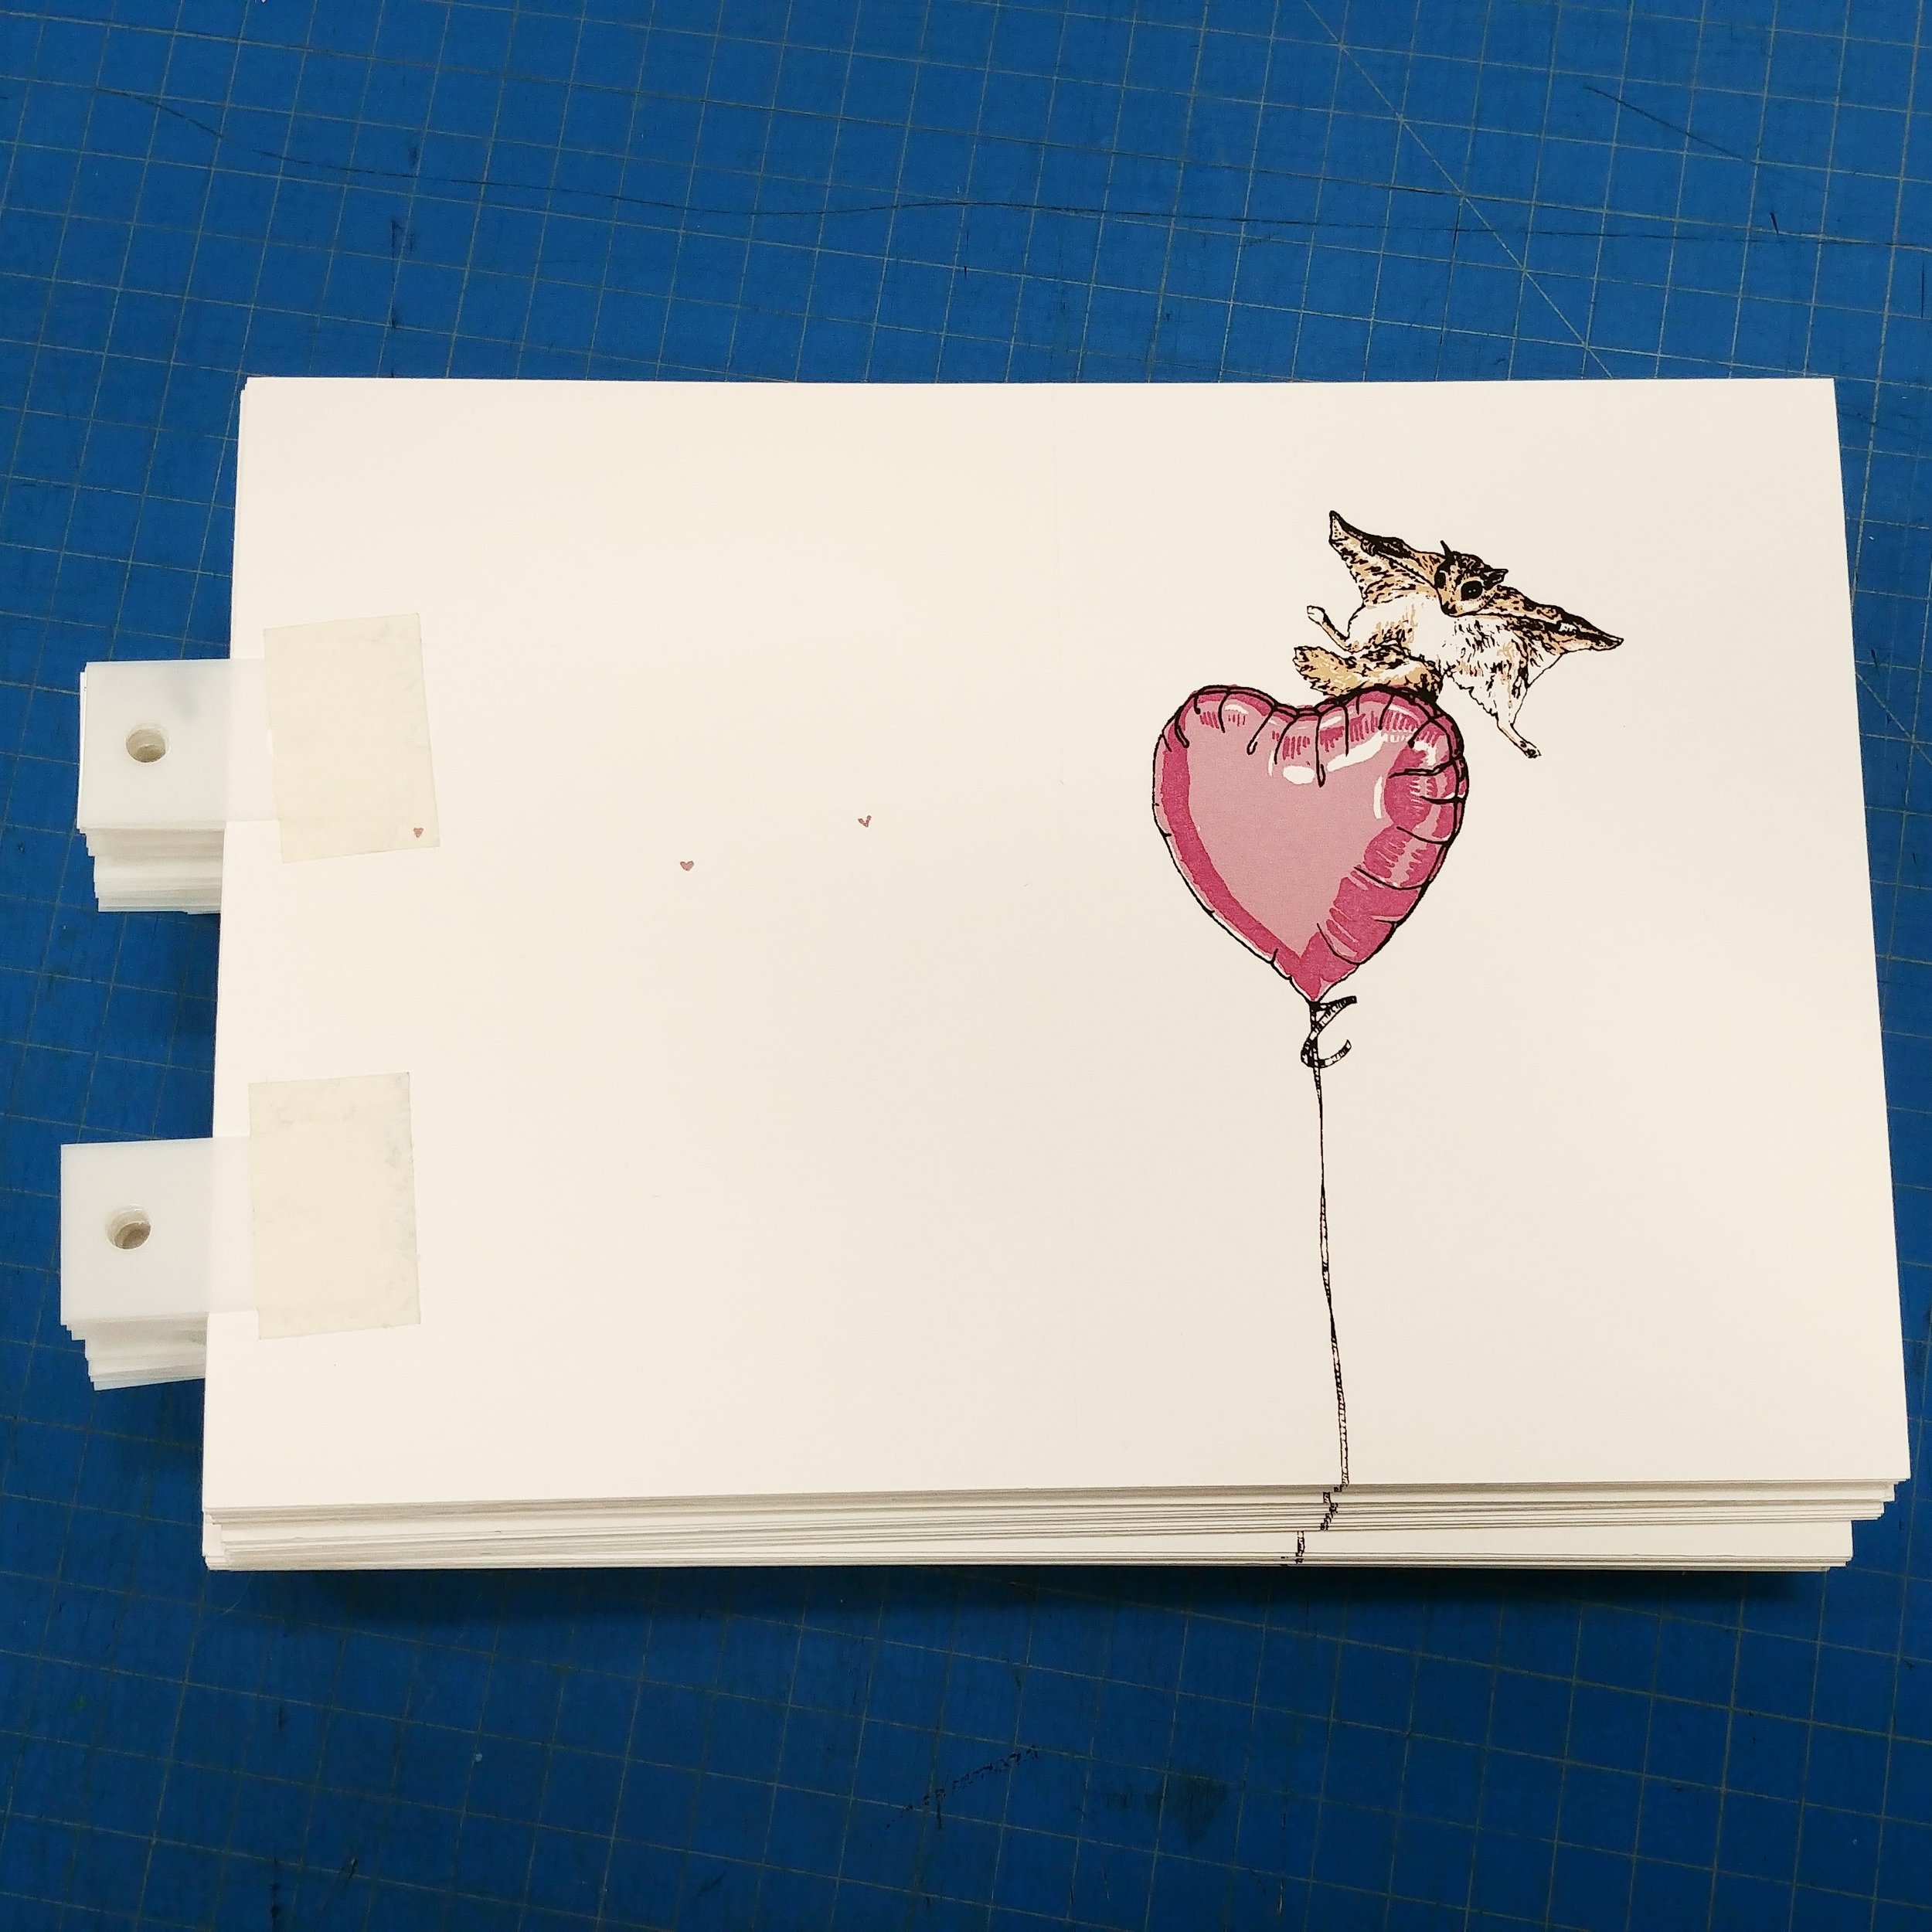
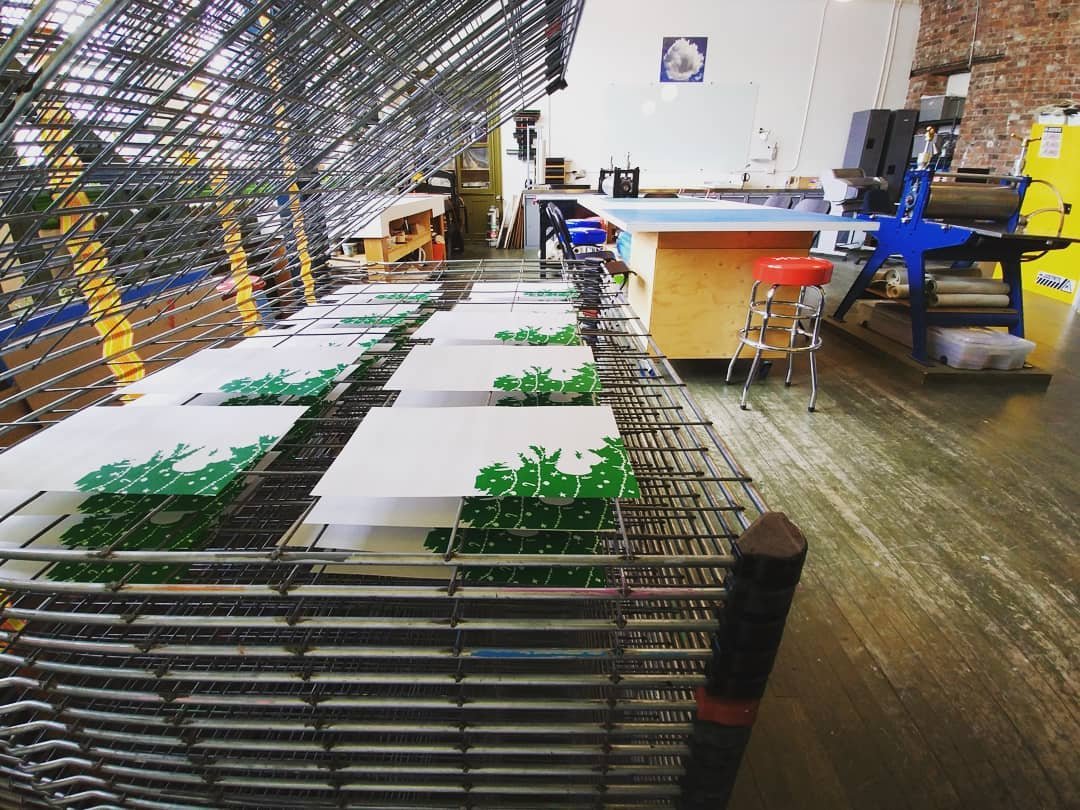
When printing an image with multiple colours, the printmaker must create an individual stencil for each colour and print them in separate layers. Each layer must align perfectly in order to the print to be included in the edition. This alignment process is referred to as “registration”, and there are different techniques a printmaker can use to facilitate it.
Silkscreen printing, like most printmaking methods, has industrial roots. It was employed by ancient cultures to decorate walls, textiles, and even ceramic pieces. We can still find evidence of industrial screen printing today on t-shirts, cereal boxes, posters, and more. If you ever notice four blocks of colour on the edge of your newspaper or packaging with the letters, "CMYK”, that item has been screen printed by a machine with industrial techniques. The C stands for cyan, M for magenta, Y for yellow, and K for key (the black and final layer that completes the image). Some silkscreen printmakers employ this technique by hand in the studio, utilizing excellent registration techniques and mixing their ink with the perfect amount of transparency for the CMYK stencils to layer perfectly when the image is complete.
Silkscreen didn’t step into the fine art world until the 1960’s; a transition accredited to Eduardo Paolozzi and made famous by Andy Warhol. Today, it is perhaps the most popular method of printmaking among artists, valued for its diverse possibilities and efficient editioning process.
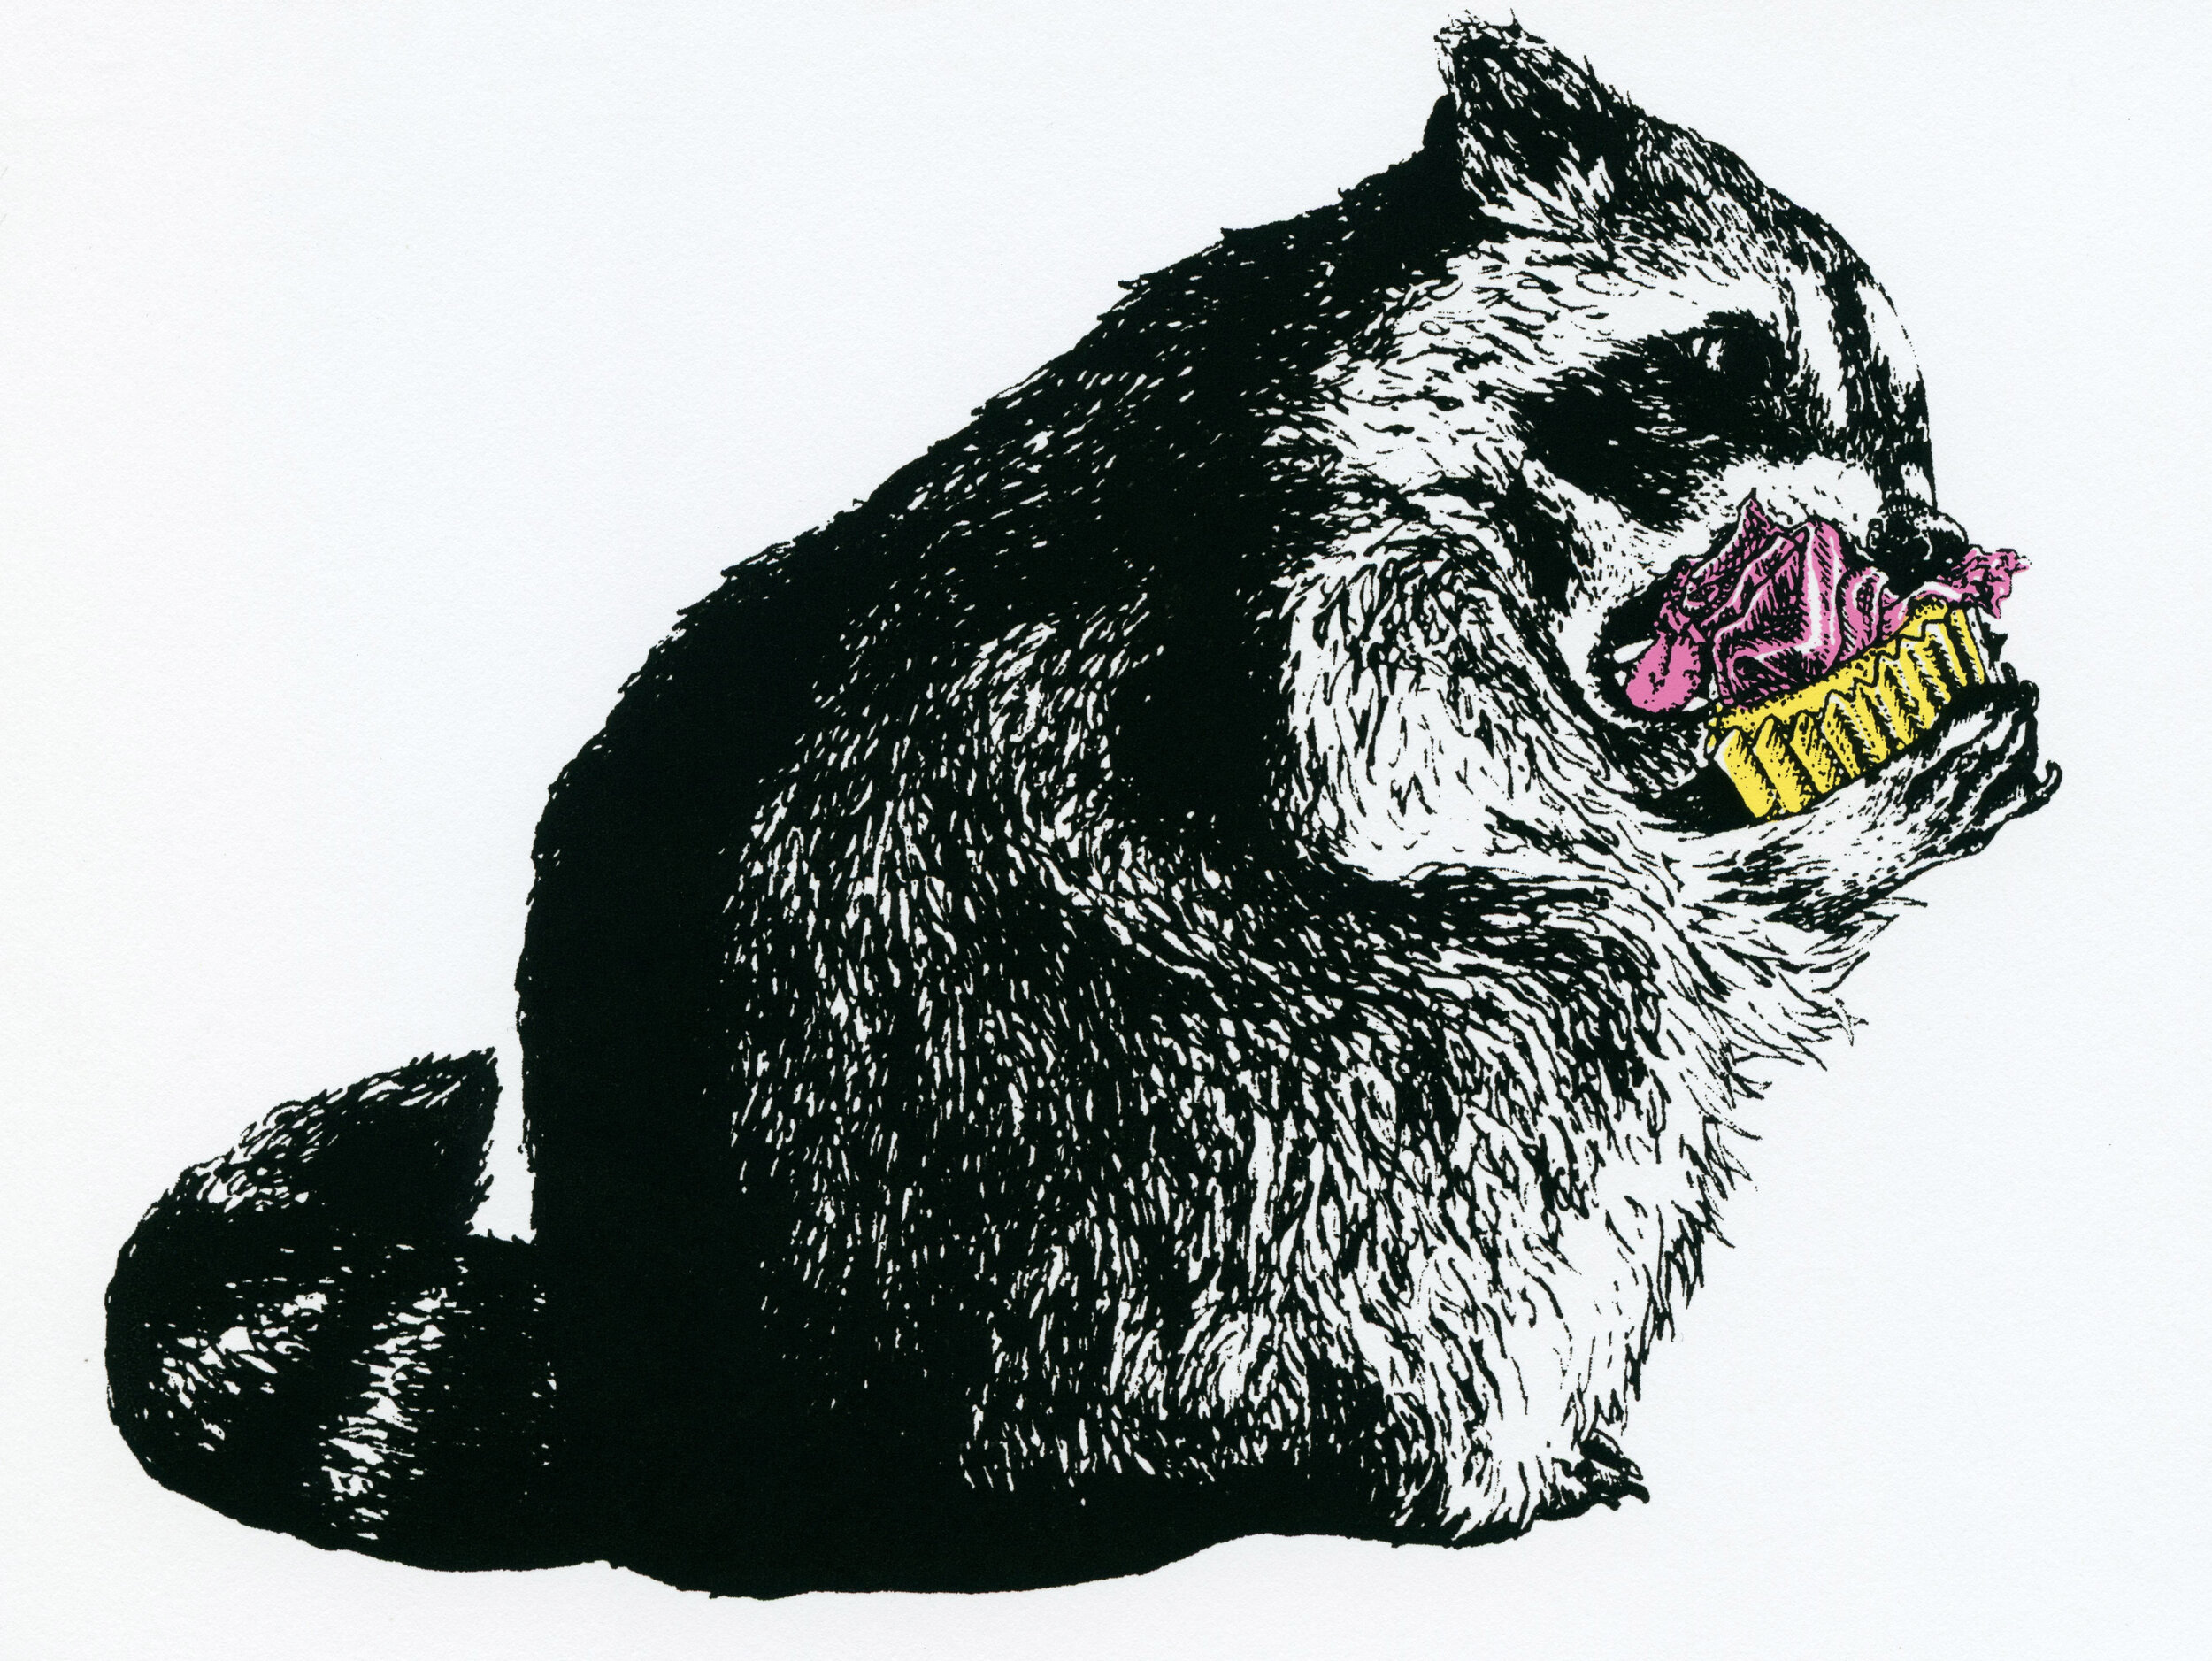

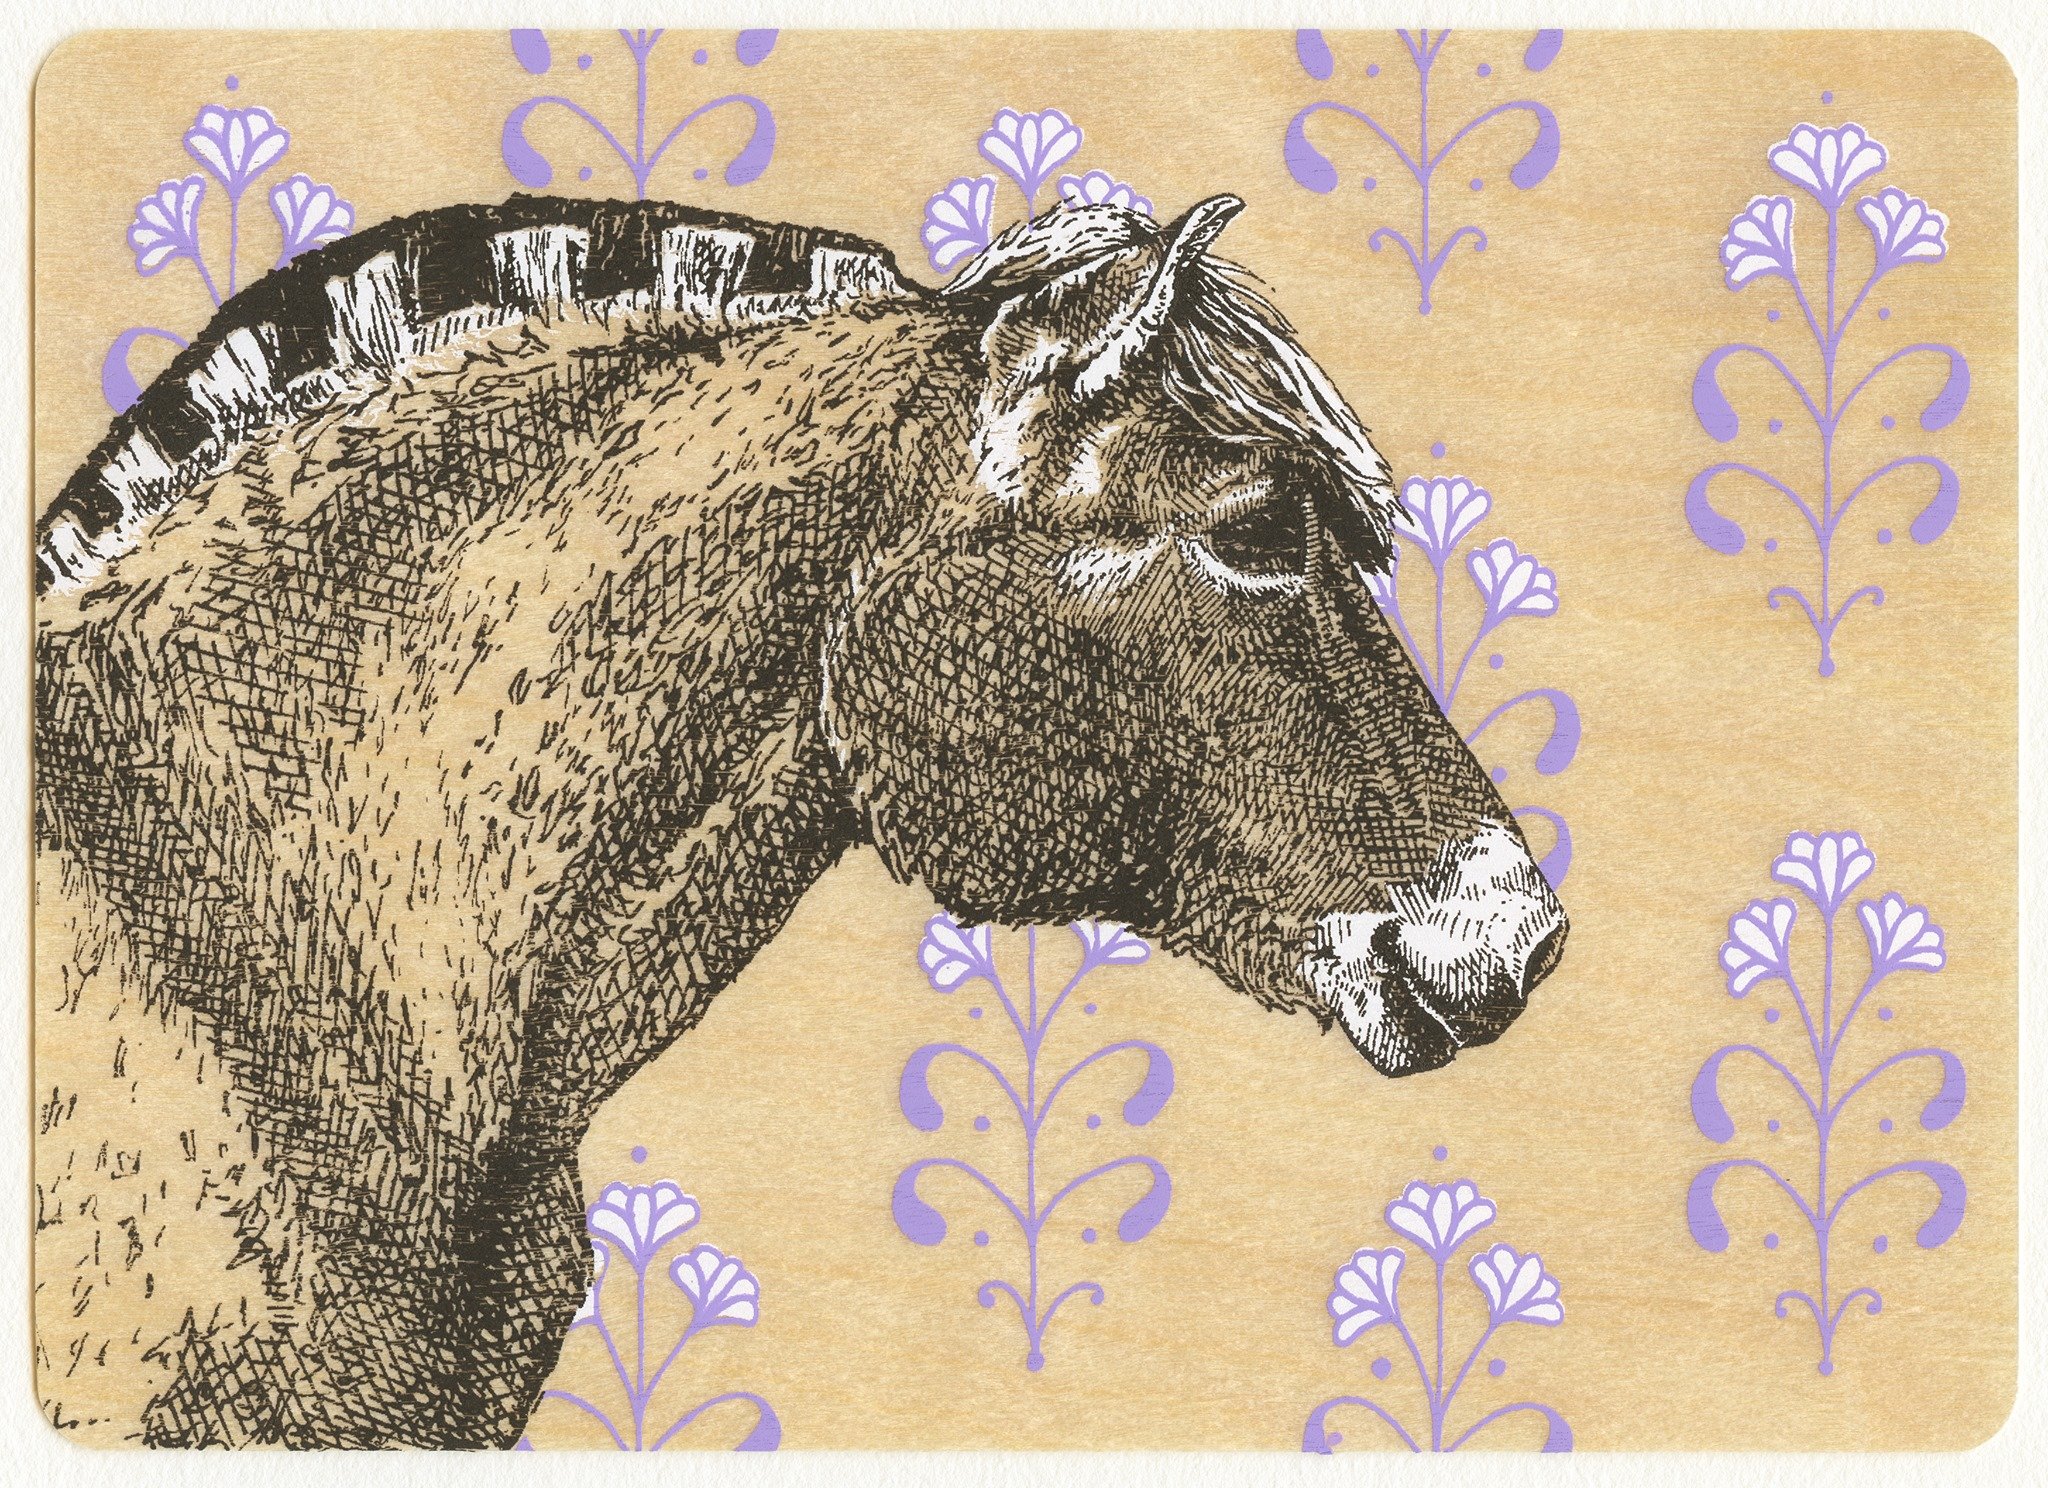
I use silkscreen printing in my own work, most notably when creating my hand printed greeting cards. I love the combination of thick, bold colours and fine lines I can employ together to create my image. I love the speed of the printing process, and the suspense of not knowing what my image will look like until it magically appears after the final layer is printed. The rhythm of pulling, flooding, and lifting the screen to expose your image feels like active meditation; much like running or cycling (but thankfully with far less cardio!).
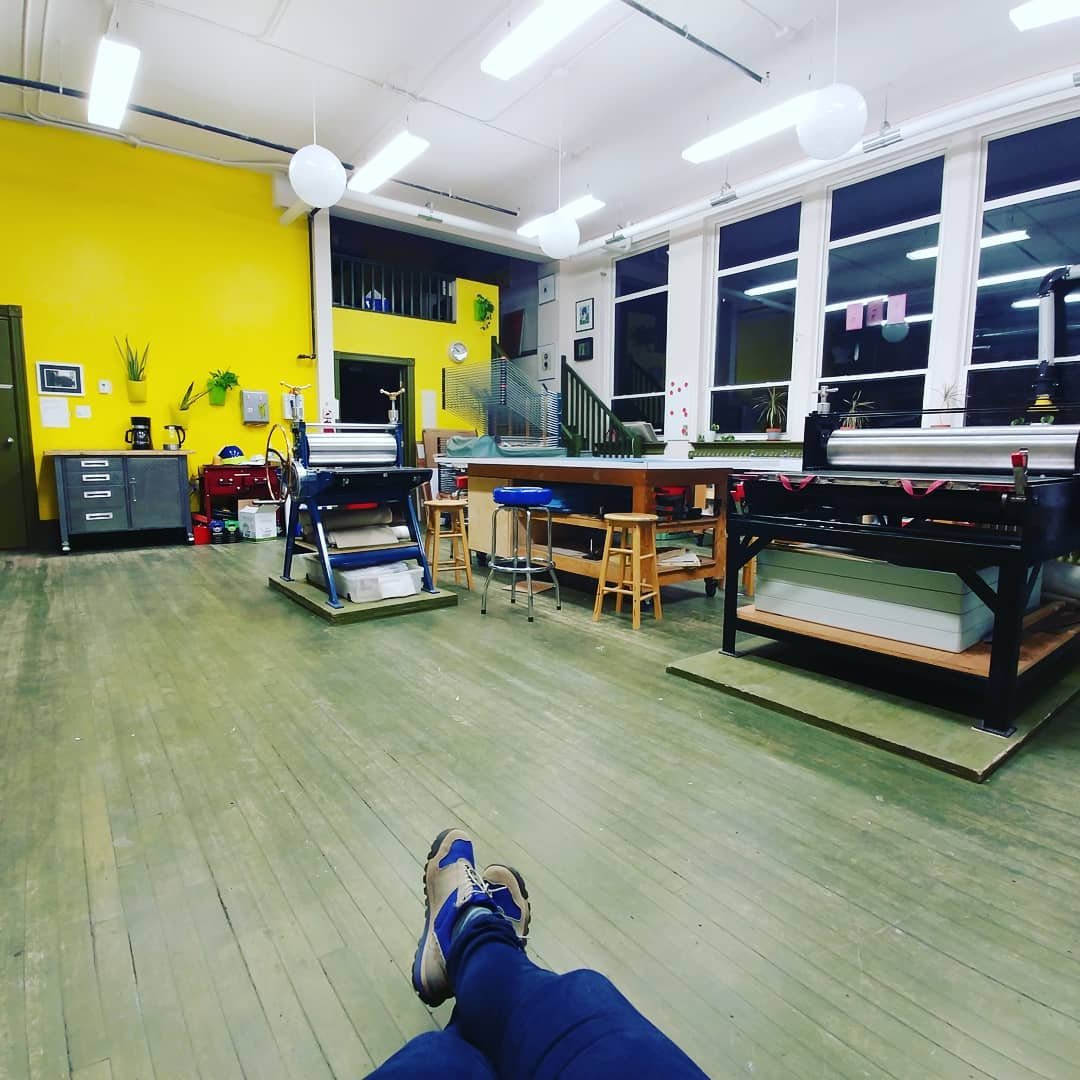
I create my prints at Atelier Imago, a printmaking studio here in Moncton, New Brunswick. It’s a fantastic community of local printmakers, and the reason I moved to Moncton. Silkscreen is definitely the most popular method of printmaking at Imago, although a few of us specialize in other techniques.
Want to see some of the silkscreen process in action? Check out my Instagram profile and watch my “screen prep” and “printing cards” story highlights!